
Self-hosting ASP.NET Core using Coolify
Back in the late-2000s when I was first starting out in my career, everything was self-hosted. This was the early days of .NET framework and the early days of SaaS - manually configuring IIS, installing libraries to the GAC, managing SSL certificates - basically it was enough to put me off for the next 15 years! I was fortunate enough back then to be an early adopter of Azure and once I had a taste of PaaS I never went back. Over the years I’ve used both Azure and AWS extensively and just accepted the encroaching costs - even when the compute bill ends up in the thousands!
When I was building Boarded I immediately gravitated back to Azure App Services and Azure Static Sites, setup the CD up for it and didn’t think much more about it. However, when I came to launch the product, I had to switch to a $50 App Service to stop it from shutting down. That’s $50 for a server to host one API with 1 core and 1.75 GB of RAM! As somebody with aspirations to launch many such services, I don’t really want to be paying $50 for each service - when it comes out of your own pocket it definitely sharpens your mind on the aforementioned costs!
In addition to that, Twitter has been full of scare stories about DDoS attacks causing HUGE bills because of ingress overage, and nobody wants that risk hanging over them. Besides, a lot has changed in the past 15 years and after hearing about Coolify I thought it could be a good time to revisit self-hosting. Coolify markets itself as an open source and self-hosted Heroku/Netlify/Vercel alternative but it’s actually quite a bit more than that. Coolify can essentially host anything via Docker, it provides a Traefik load balancer which provisions free SSL certificates, it monitors your services and it integrates directly with GitHub - meaning all you need to bring is your own server with a SSH connection.
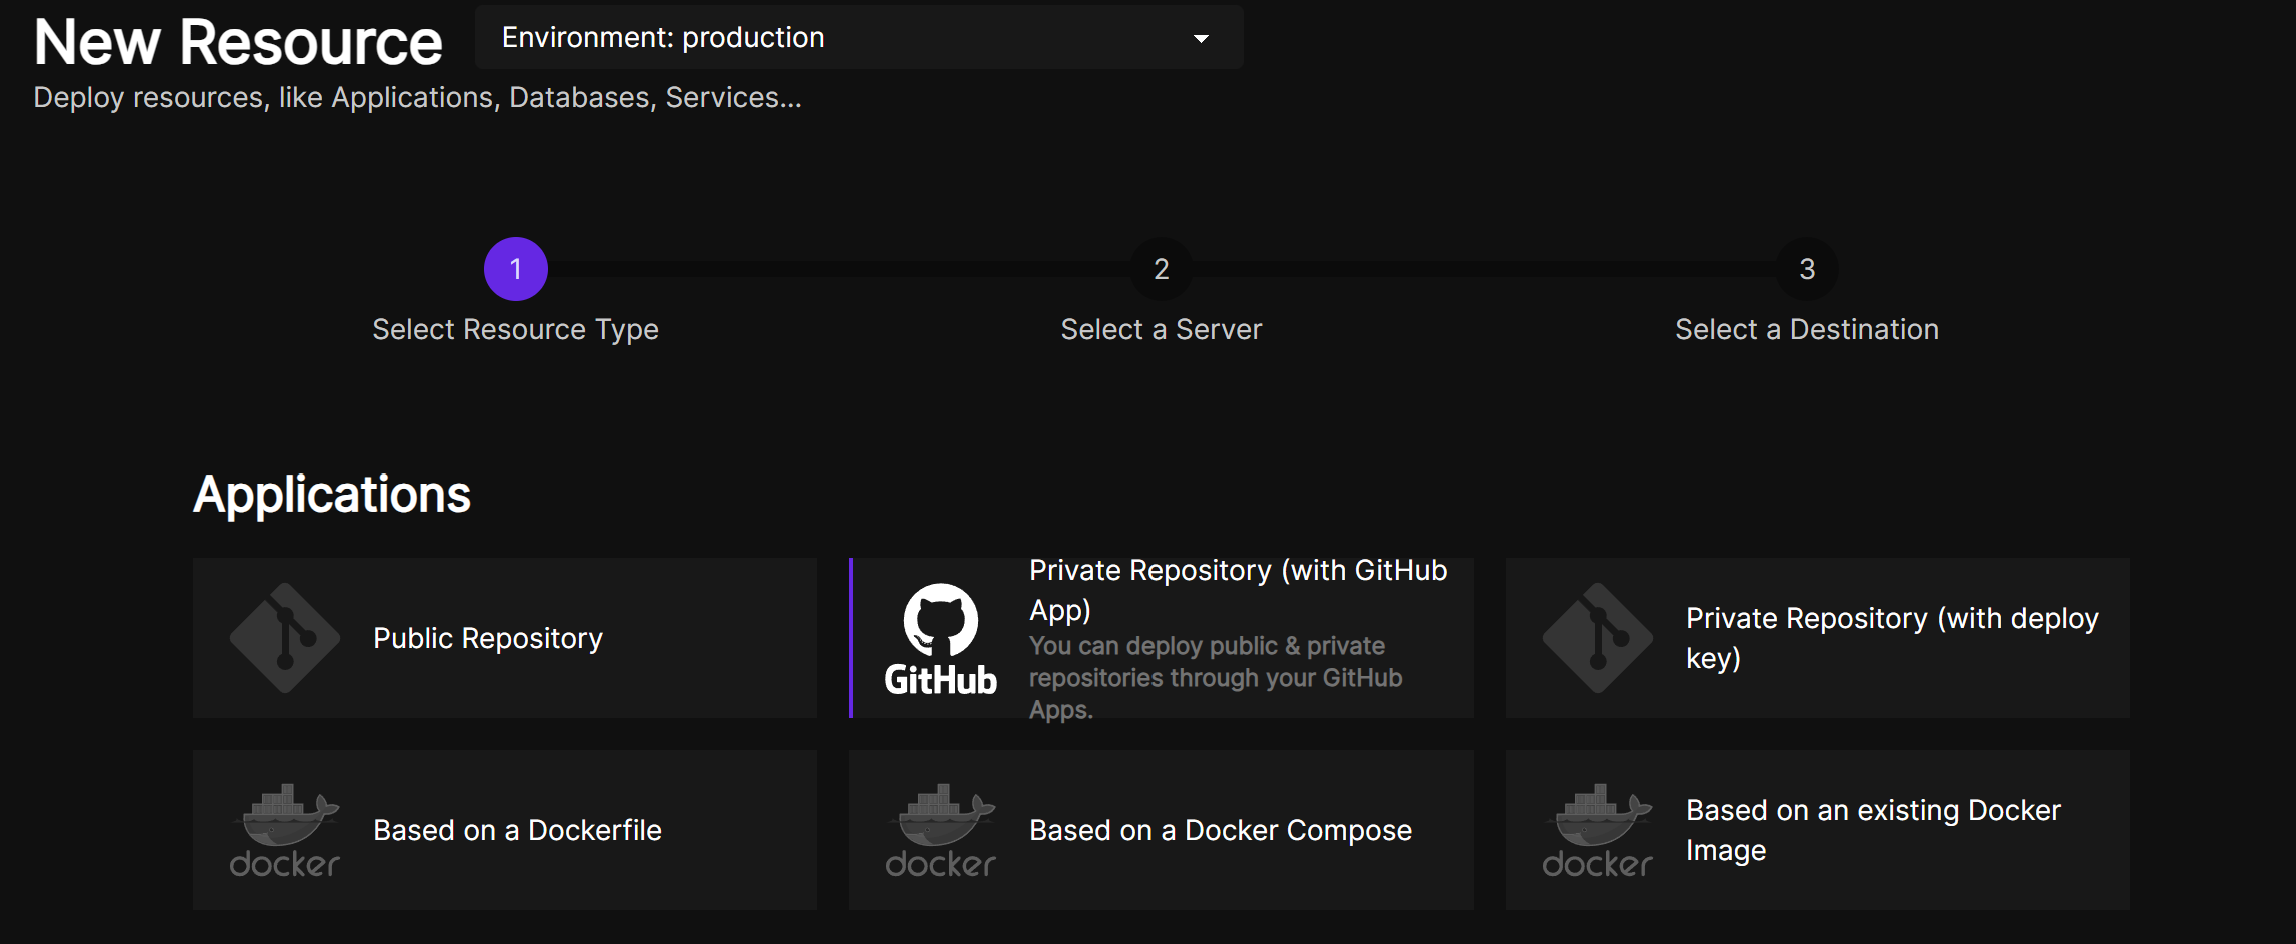
I won’t go into the ins and outs of connecting a server as Coolify already documents all of that, and setting up static site hosting is a breeze, but I did hit a couple of stumbling blocks when trying to host my ASP.NET Core Web Api so I will share what is required to get that up and running. Firstly, I’ve created a GitHub App within Coolify and connected that to my GitHub account - this means that I can simply select the project from the list of GitHub repos.
Build and Run
Everything so far is identical for any resource you want to create from a private GitHub repository - where it gets interesting is on the next step where we setup our Nixpacks commands. Nixpacks creates an OCI compliant image directly from source and it will even identify the project type. However, I found that for Web Api the default doesn’t quite work - fortunately after much trial and error I’ve found some commands which do work.

The default command is just fine for Install, but for Build and Start I used the following.
Build
dotnet publish src/Api --no-restore -c Release -o outThis example assumes you have your Web Api in a /src/Api folder, but you can adapt this to match your project.
Run
cd out && dotnet Api.dll --urls=http://0.0.0.0:3000Here we’re moving into the output folder before running the published DLL on the port configured in Coolify.

By default Nixpacks will run in .NET 6, so if you’re using a newer version you will need to set an environment variable to specify the .NET version to run. Fortunately Coolify has a built in mechanism for setting environment variables that you can use for this. For example, for .NET 8 you would use:
NIXPACKS_CSHARP_SDK_VERSION=8.0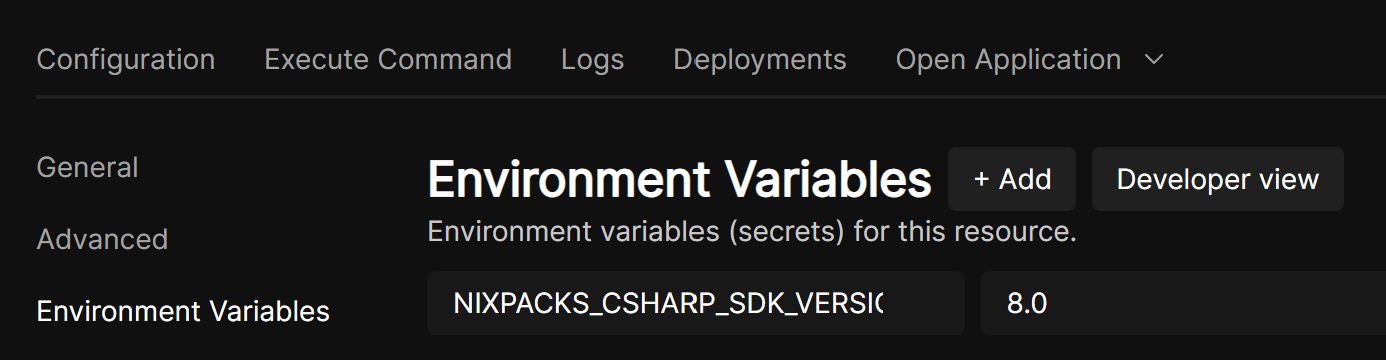
Environment Variables
And that’s all it needs to get your API up and running! However, chances are you will also need to transform your appsettings.json with your production config. At this point you could connect to a key vault, but as we’ve already seen Coolify already supports a way of setting environment variables as secrets so we’ll use that instead. ASP.NET Core loads configuration in the following order of precedence.
appsettings.jsonappsettings.{Environment}.json- User secrets
- Environment variables
- Command-line arguments
.NET will need environment variables names to match the structure expected by the IConfigurationRoot. Say for example you have the following configuration.
{
    "MongoDb": {
        "ConnectionString": "PROVIDED_BY_ENVIRONMENT_VARIABLE"
    },
    "SendGrid": {
        "ApiKey": "PROVIDED_AT_BUILD_TIME"
    }
}
You will need to name your environment variables MongoDb__ConnectionString and SendGrid__ApiKey where each level of the object is separated by a double underscore (__).
Automated Builds
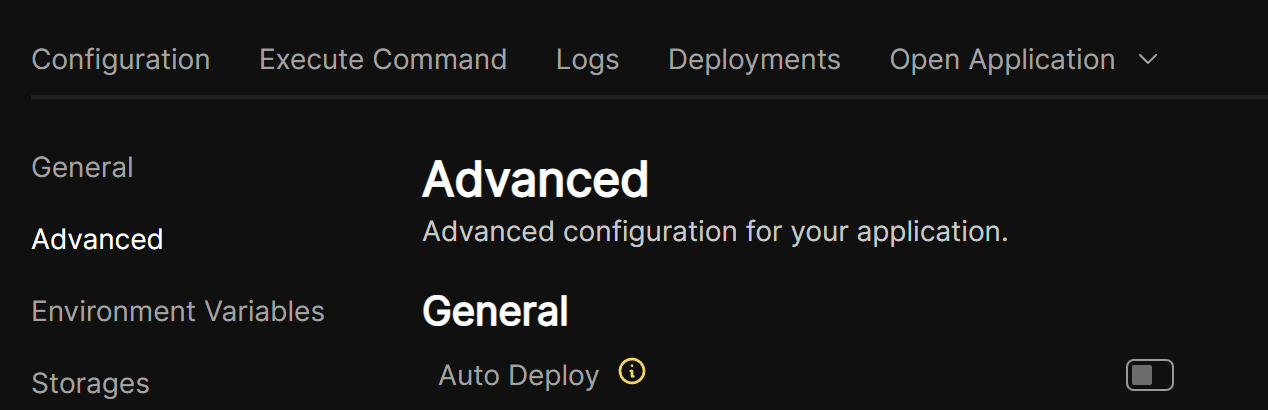
By default, Coolify will automate a build whenever you push to GitHub. However, in my case I wanted to run my tests in GitHub Actions before a build was triggered. The first step here was to disable auto deploy in Coolify, by going to advanced settings.
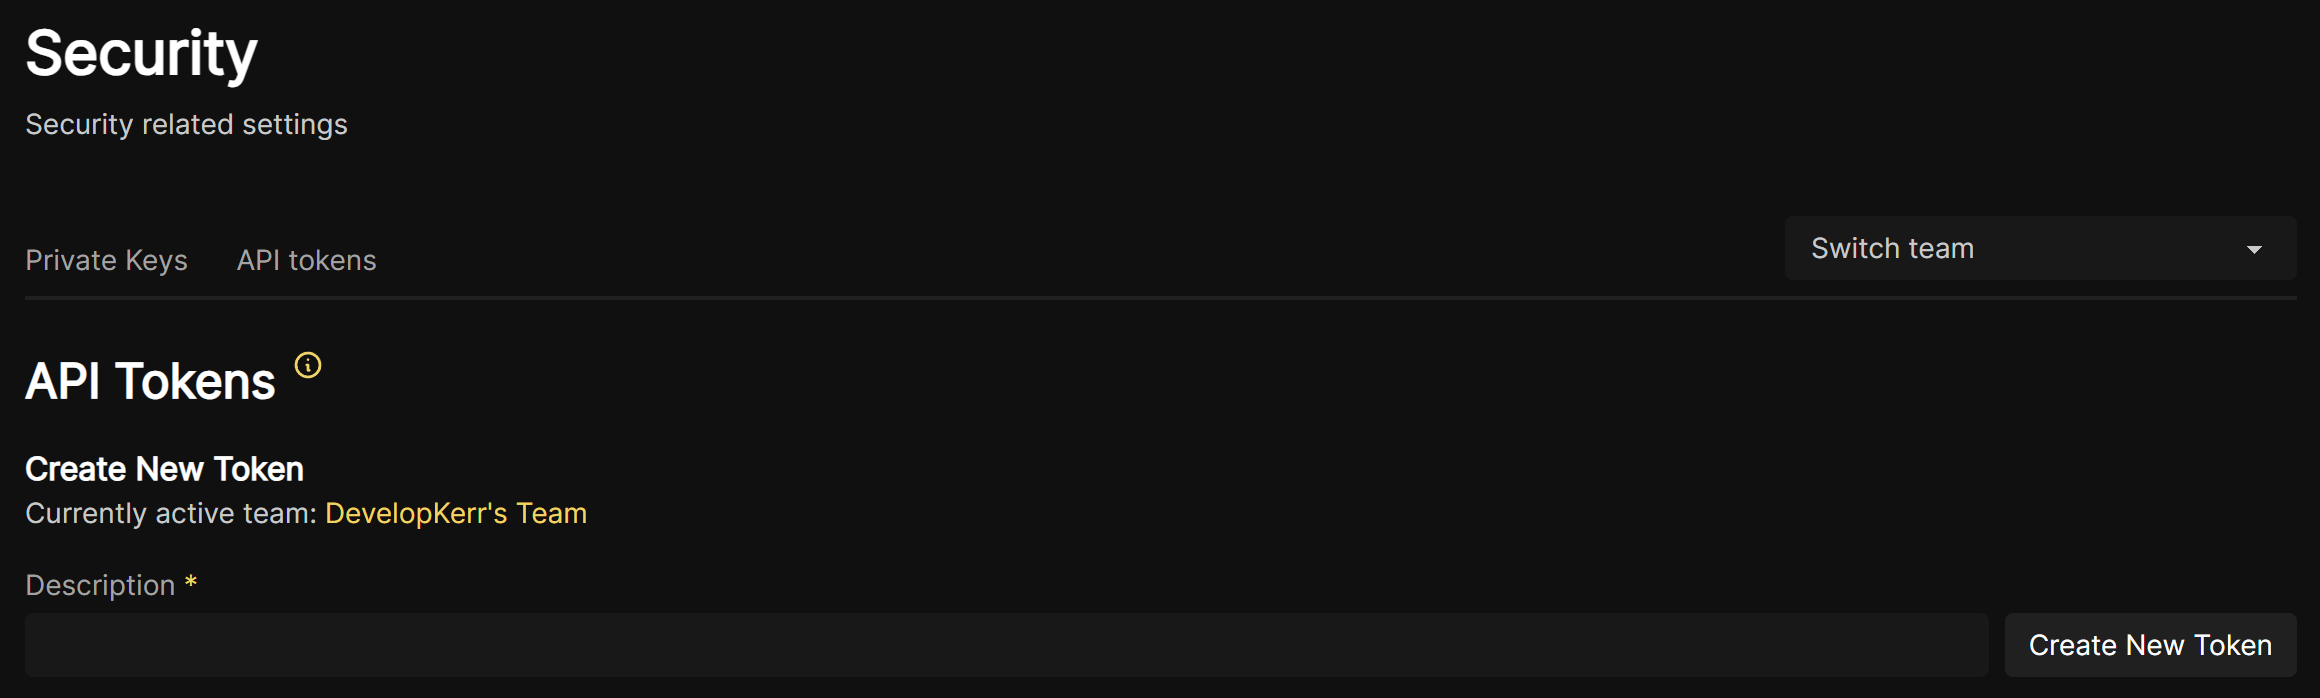
Coolify also supports a webhook for deployment which you can get from the Webhooks setting on your resource. The format of the webhook is always: https://app.coolify.io/api/v1/deploy?uuid=:resourceId&force=false. You will also need to authenticate using an API token which you can create and manage in the Security section of Coolify.
Once you have grabbed the webhook URL and the API token, you can simply use cURL to trigger the webhook and start the deployment. Here’s the full GHA workflow.
name: Test and Deploy

on:
  push:
    branches: [main]

env:
  DOTNET_VERSION: '7.0.x'

jobs:
  test:
    runs-on: ubuntu-latest
    steps:
      - uses: actions/checkout@v2

      - name: Setup .NET
        uses: actions/setup-dotnet@v2
        with:
          dotnet-version: 7.0.x

      - name: Restore dependencies
        run: dotnet restore

      - name: Build
        run: dotnet build --no-restore

      - name: Test
        run: dotnet test --no-build --verbosity normal

  deploy:
    name: deploy
    runs-on: ubuntu-latest
    env:
      CI: false
    needs: test

    steps:
      - name: trigger deployment
        run: |
          curl -X GET "${{ secrets.COOLIFY_WEBHOOK }}" -H "Authorization: Bearer ${{ secrets.COOLIFY_TOKEN }}"
Custom Domain
We’re almost there now! One final step you probably want to complete is to setup your custom domain. As always with Coolify, this is really easy - simply setup an A record in your DNS which points to your connected server and then set the URL you wish to use against your Coolify resource. And that’s it - Coolify will setup the reverse proxy to connect on that domain and even issue free SSL certificates.

Conclusion
Hopefully the above helps you get started with self-hosting ASP.NET Core using Coolify and you can start saving some money 🤑 I hasten to add that some of the above has been discovered using trial and error, so if you’ve found a better or alternative way then don’t hesitate to let me know. Any questions you might have I’d be more than happy to help to the best of my knowledge.